Our Process
At Patriot Performance Coatings, we believe a great floor isn’t just about the materials—it’s about how it’s installed. That’s why our family-owned concrete coating company takes a meticulous, step-by-step approach to every project we complete. Proudly serving St. Cloud, Sartell, Sauk Rapids, Waite Park, and Central Minnesota, we specialize in epoxy and polyaspartic floor coatings for garages, basements, patios, shops, and commercial spaces.
Built to perform in Minnesota’s climate, our floor coatings deliver durable, long-lasting results without sacrificing appearance. Homeowners and businesses across the St. Cloud area trust Patriot Performance Coatings for high-quality craftsmanship, honest communication, and concrete floors that look great and last.
Step 1: Free Estimate & Consultation
We start by visiting your space to evaluate your needs.
This is where we:
• Measure your area accurately
• Assess the condition of your concrete
• Discuss color and finish options
• Answer any questions about epoxy, polyaspartic, or other resinous systems
By the end of the consultation, you’ll have a clear understanding of your project scope, timeline, and what to expect from your new floor.
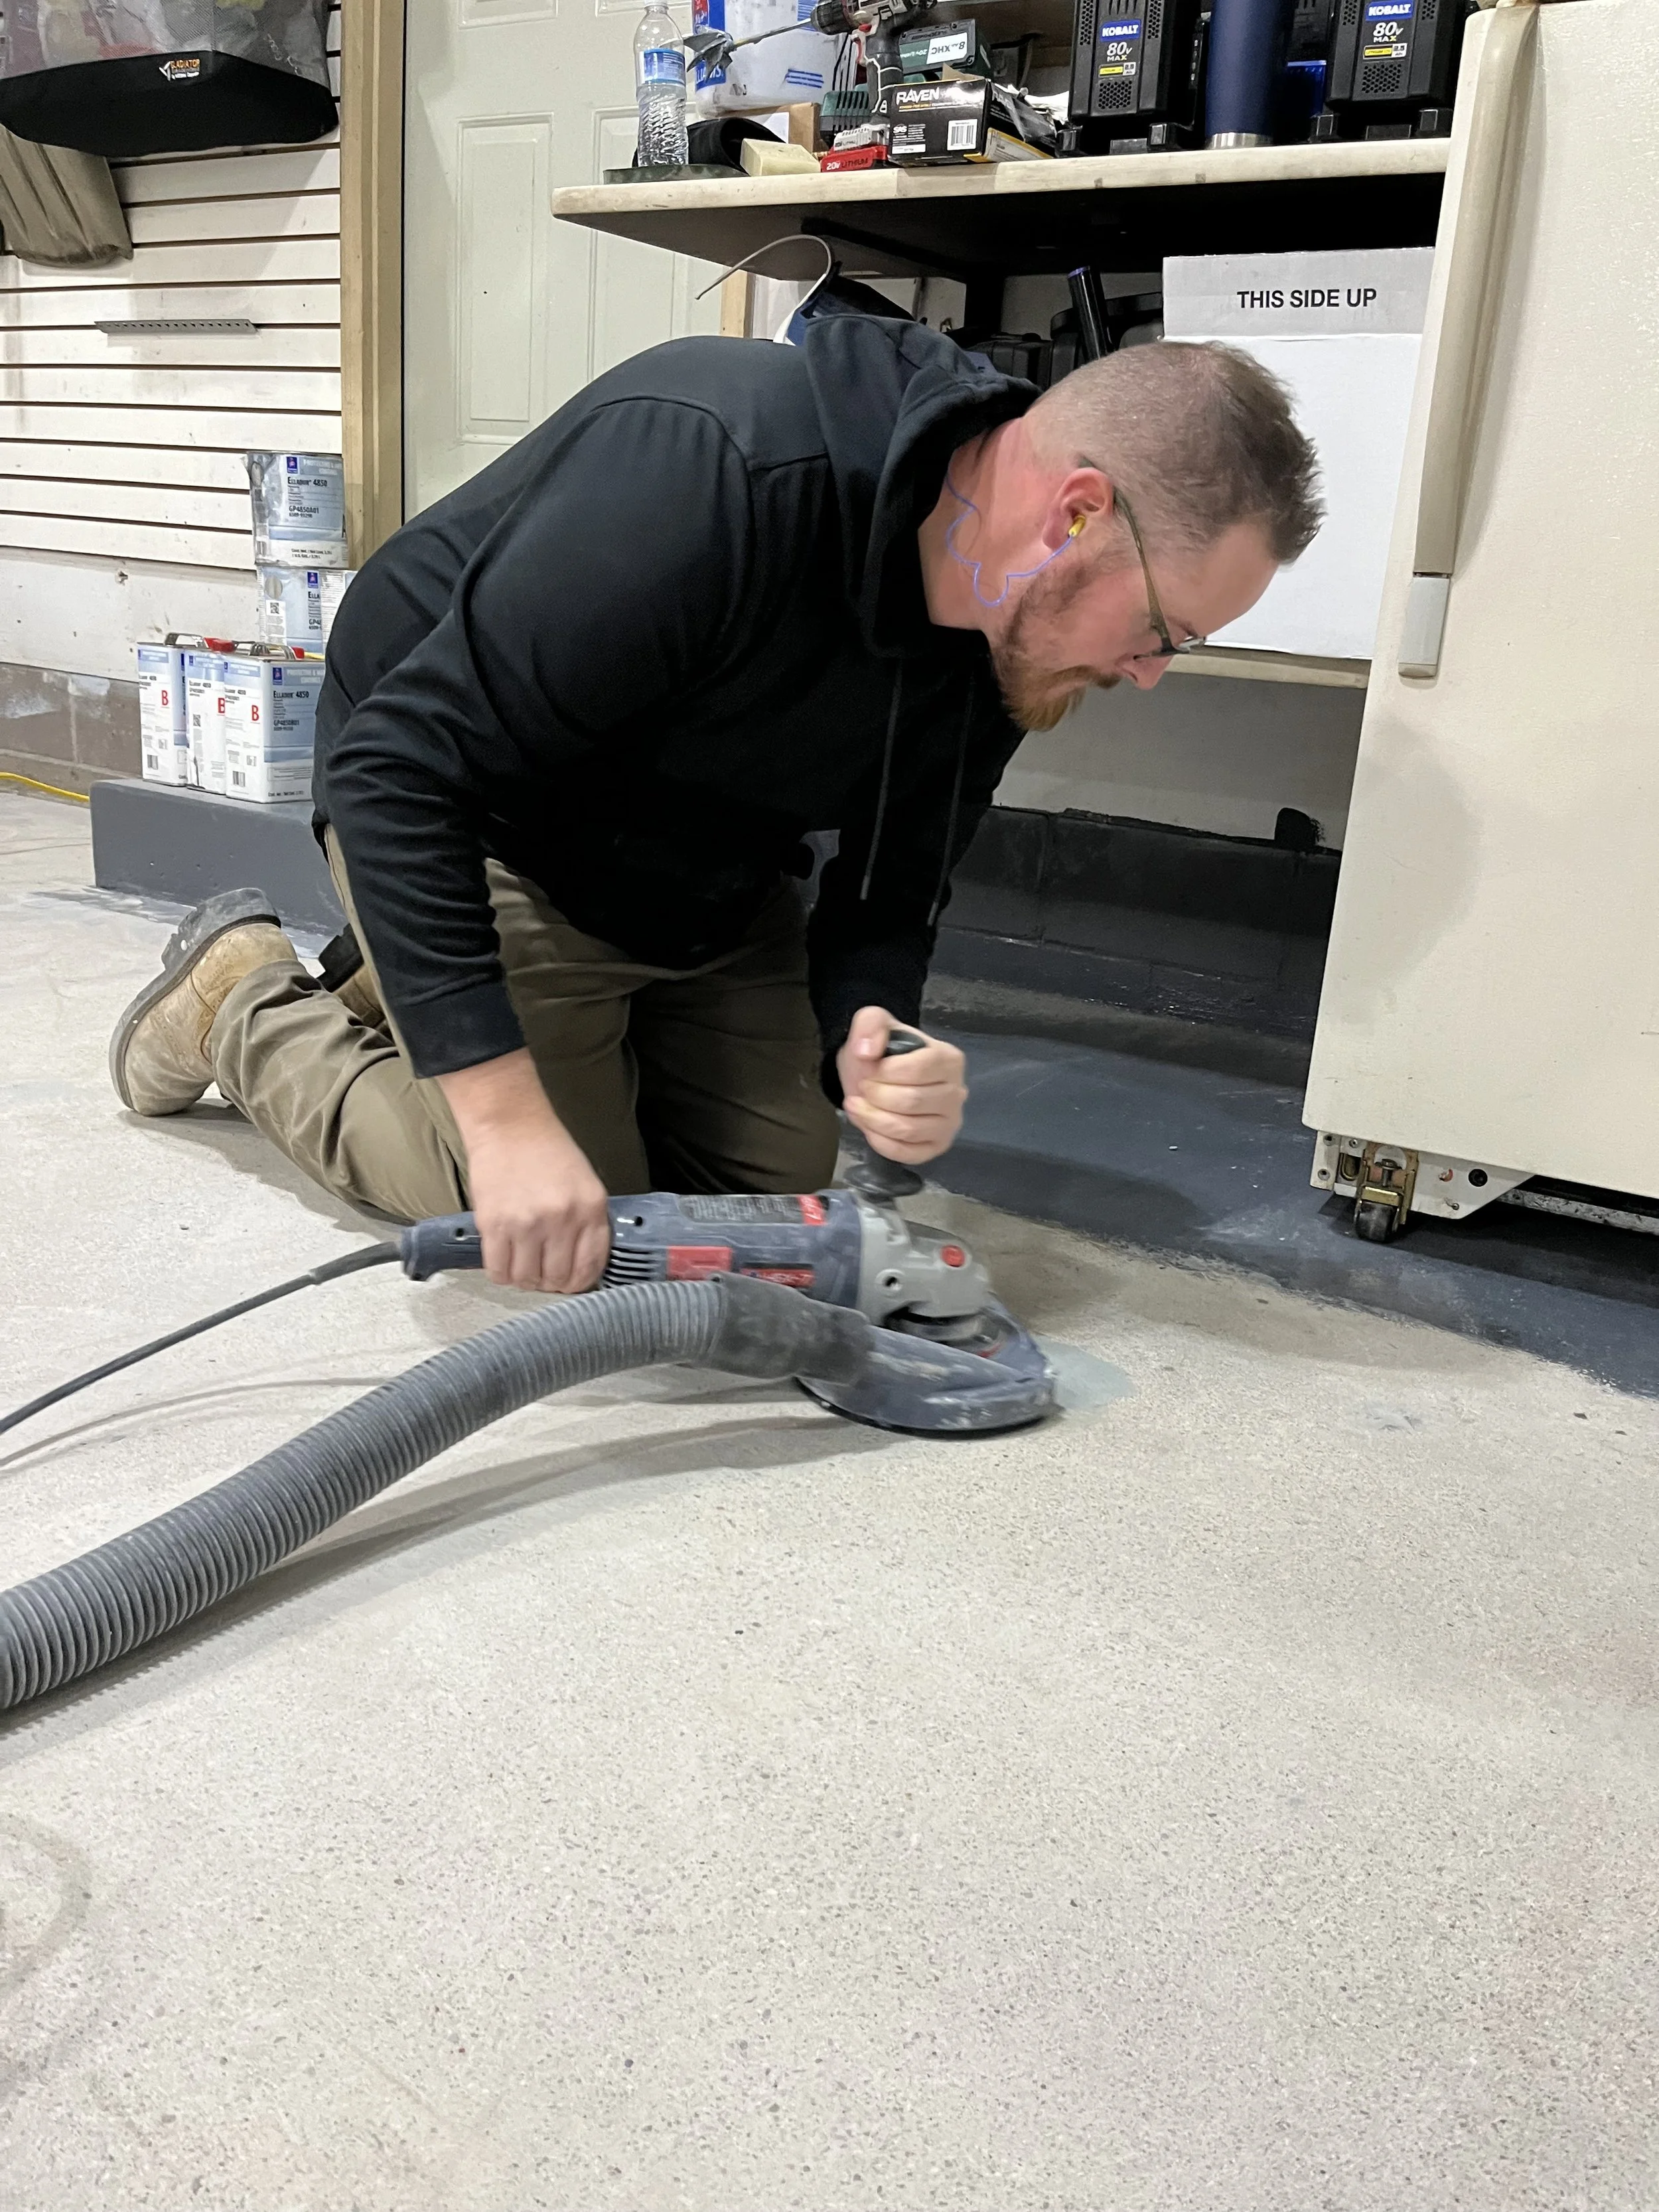
Step 2: Surface Preparation
Proper preparation is the foundation of a long-lasting floor. We:
• Grind and/or shot-blast the concrete to ensure proper adhesion
• Repair cracks, chips, or imperfections
• Clean and degrease every inch of the surface
This critical step ensures that the coating bonds correctly and stands up to daily wear, winter salt, and heavy traffic.
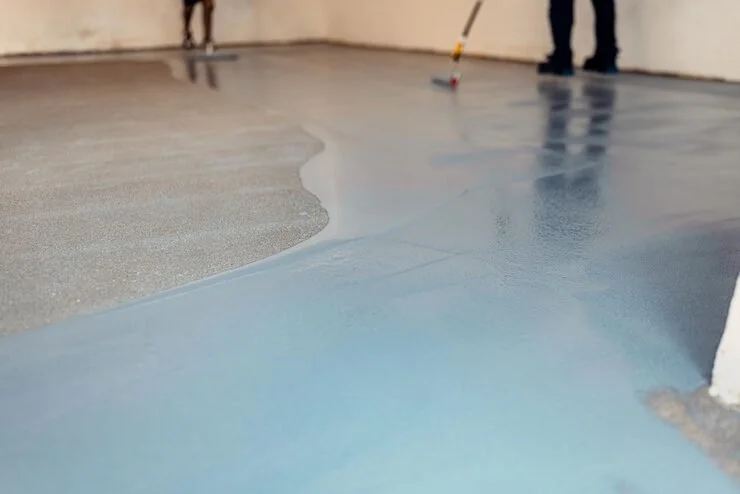
Step 3: Basecoat Application
Once the floor is prepped, we apply a high-quality resinous basecoat—usually epoxy or polyaspartic depending on your space and needs.
This layer:
• Bonds tightly to the concrete
• Provides a solid foundation for decorative flakes or metallic effects
• Increases durability and longevity
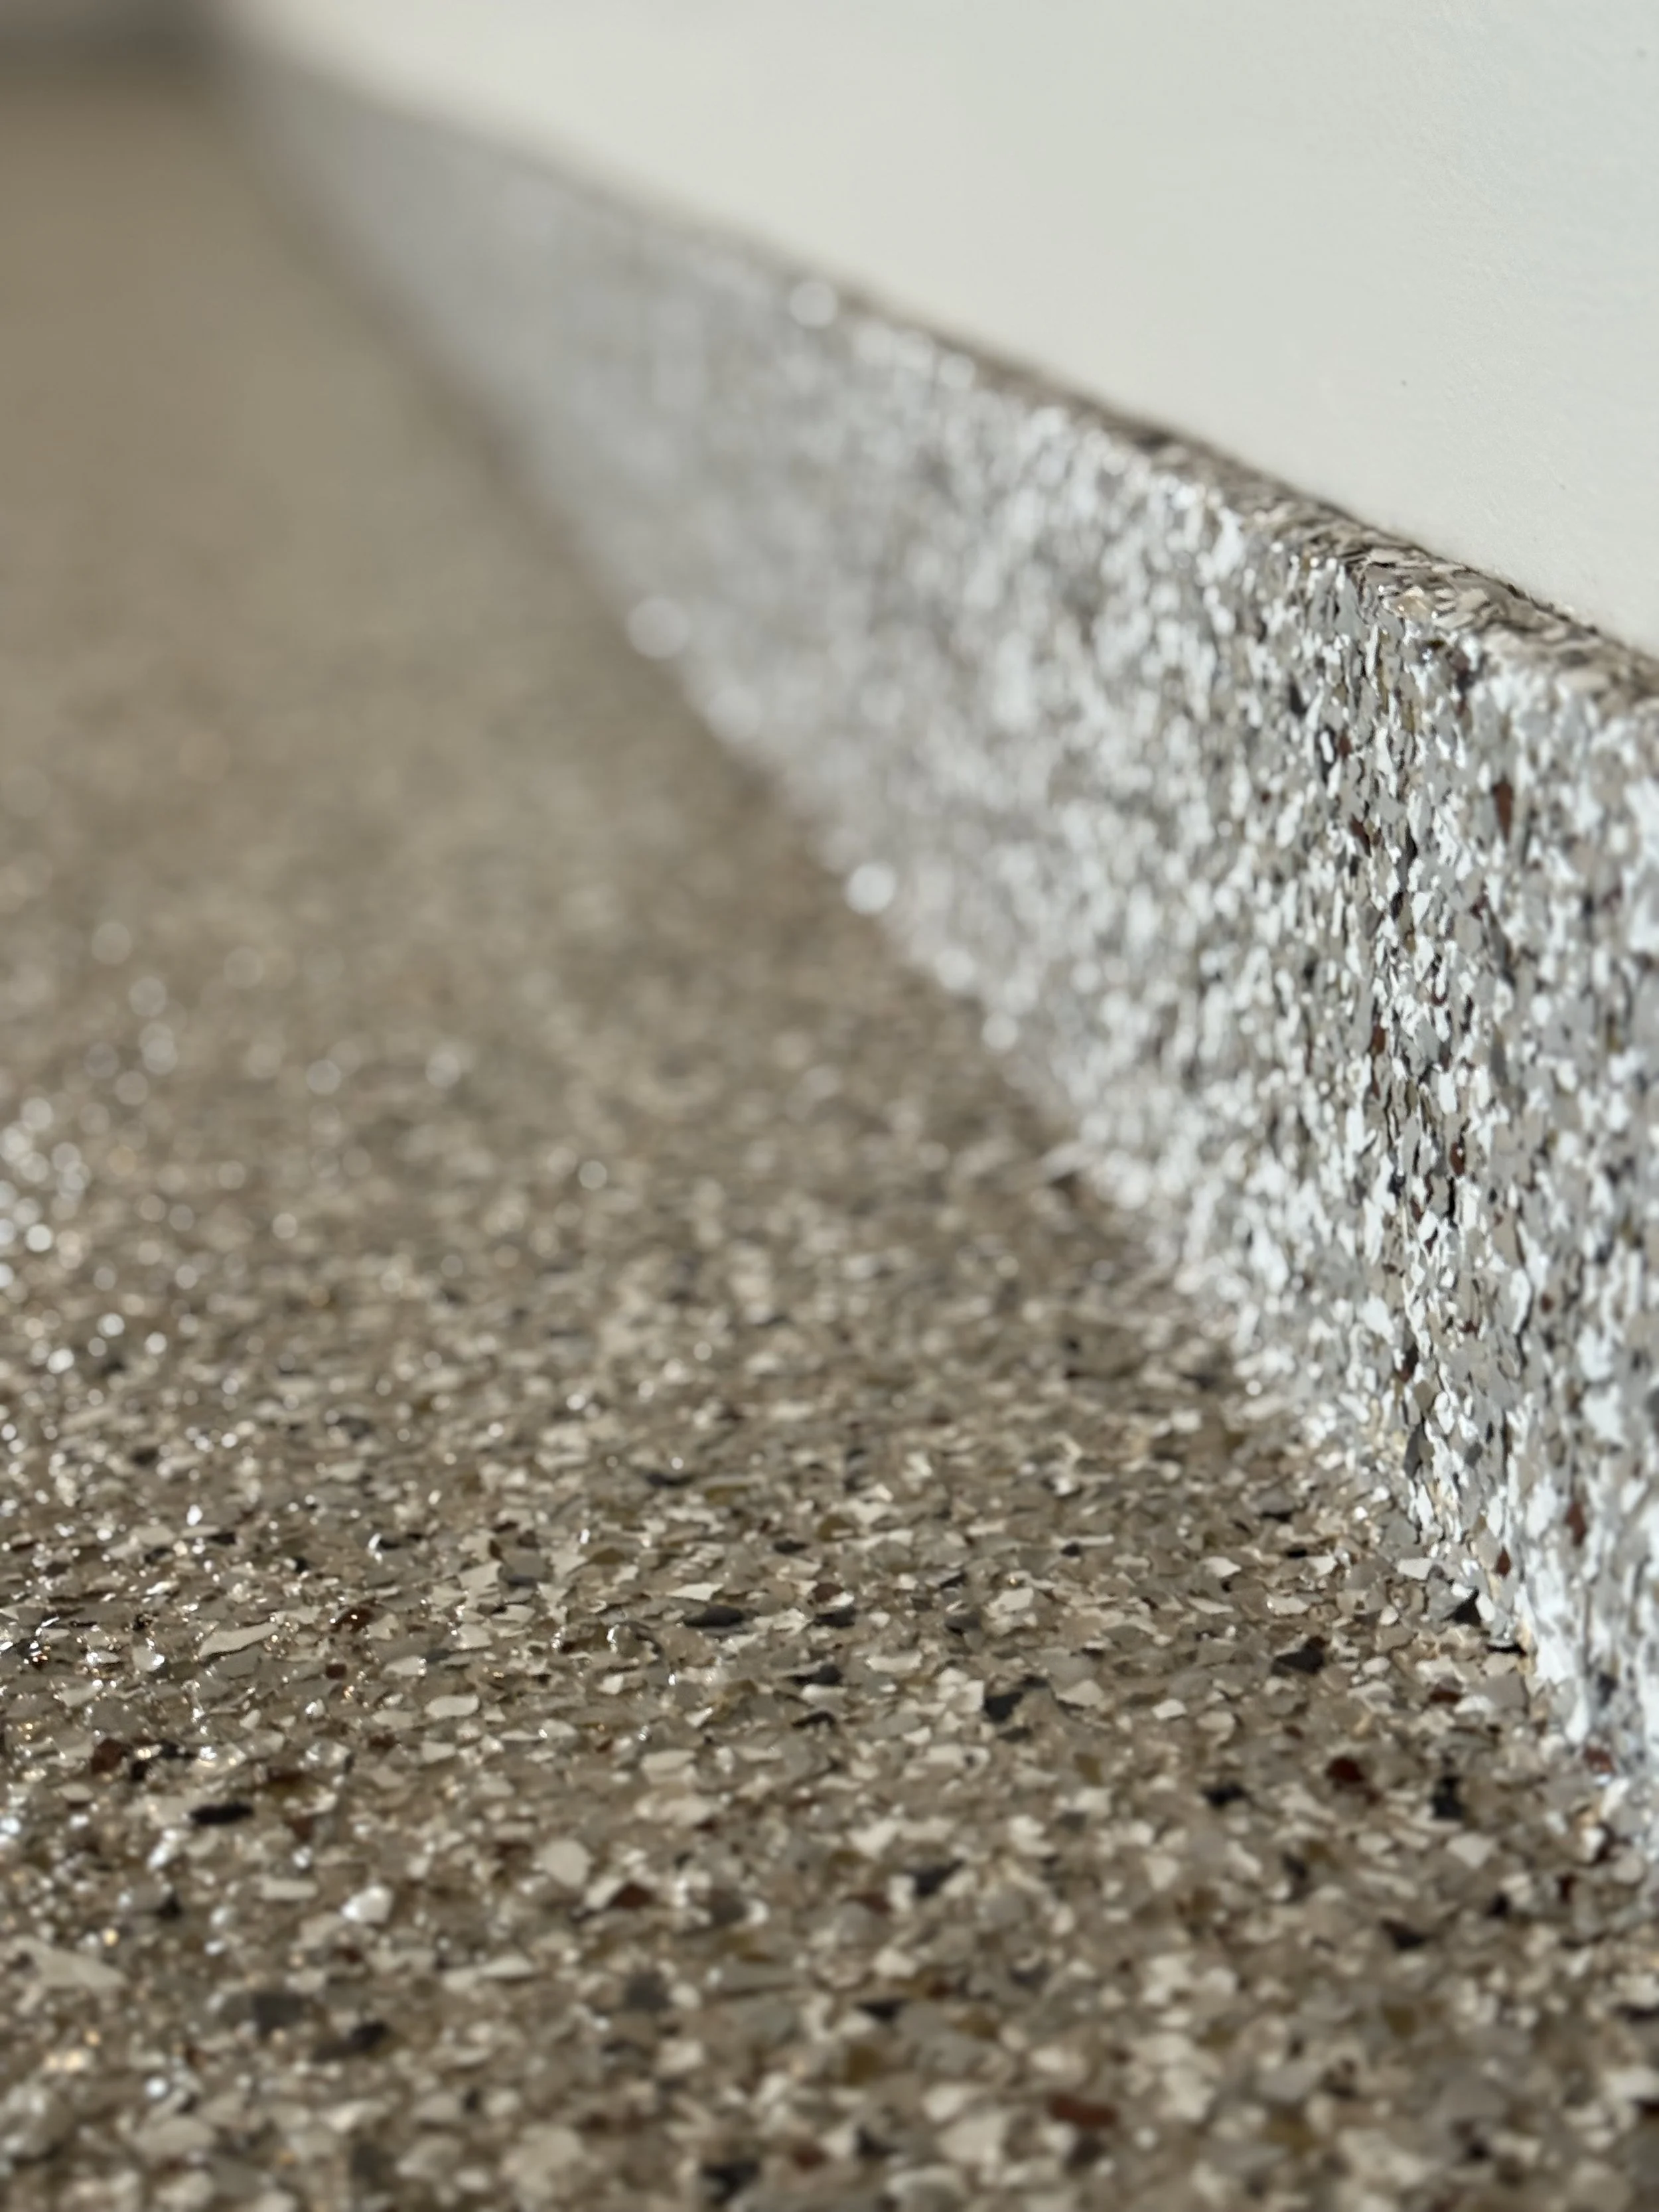
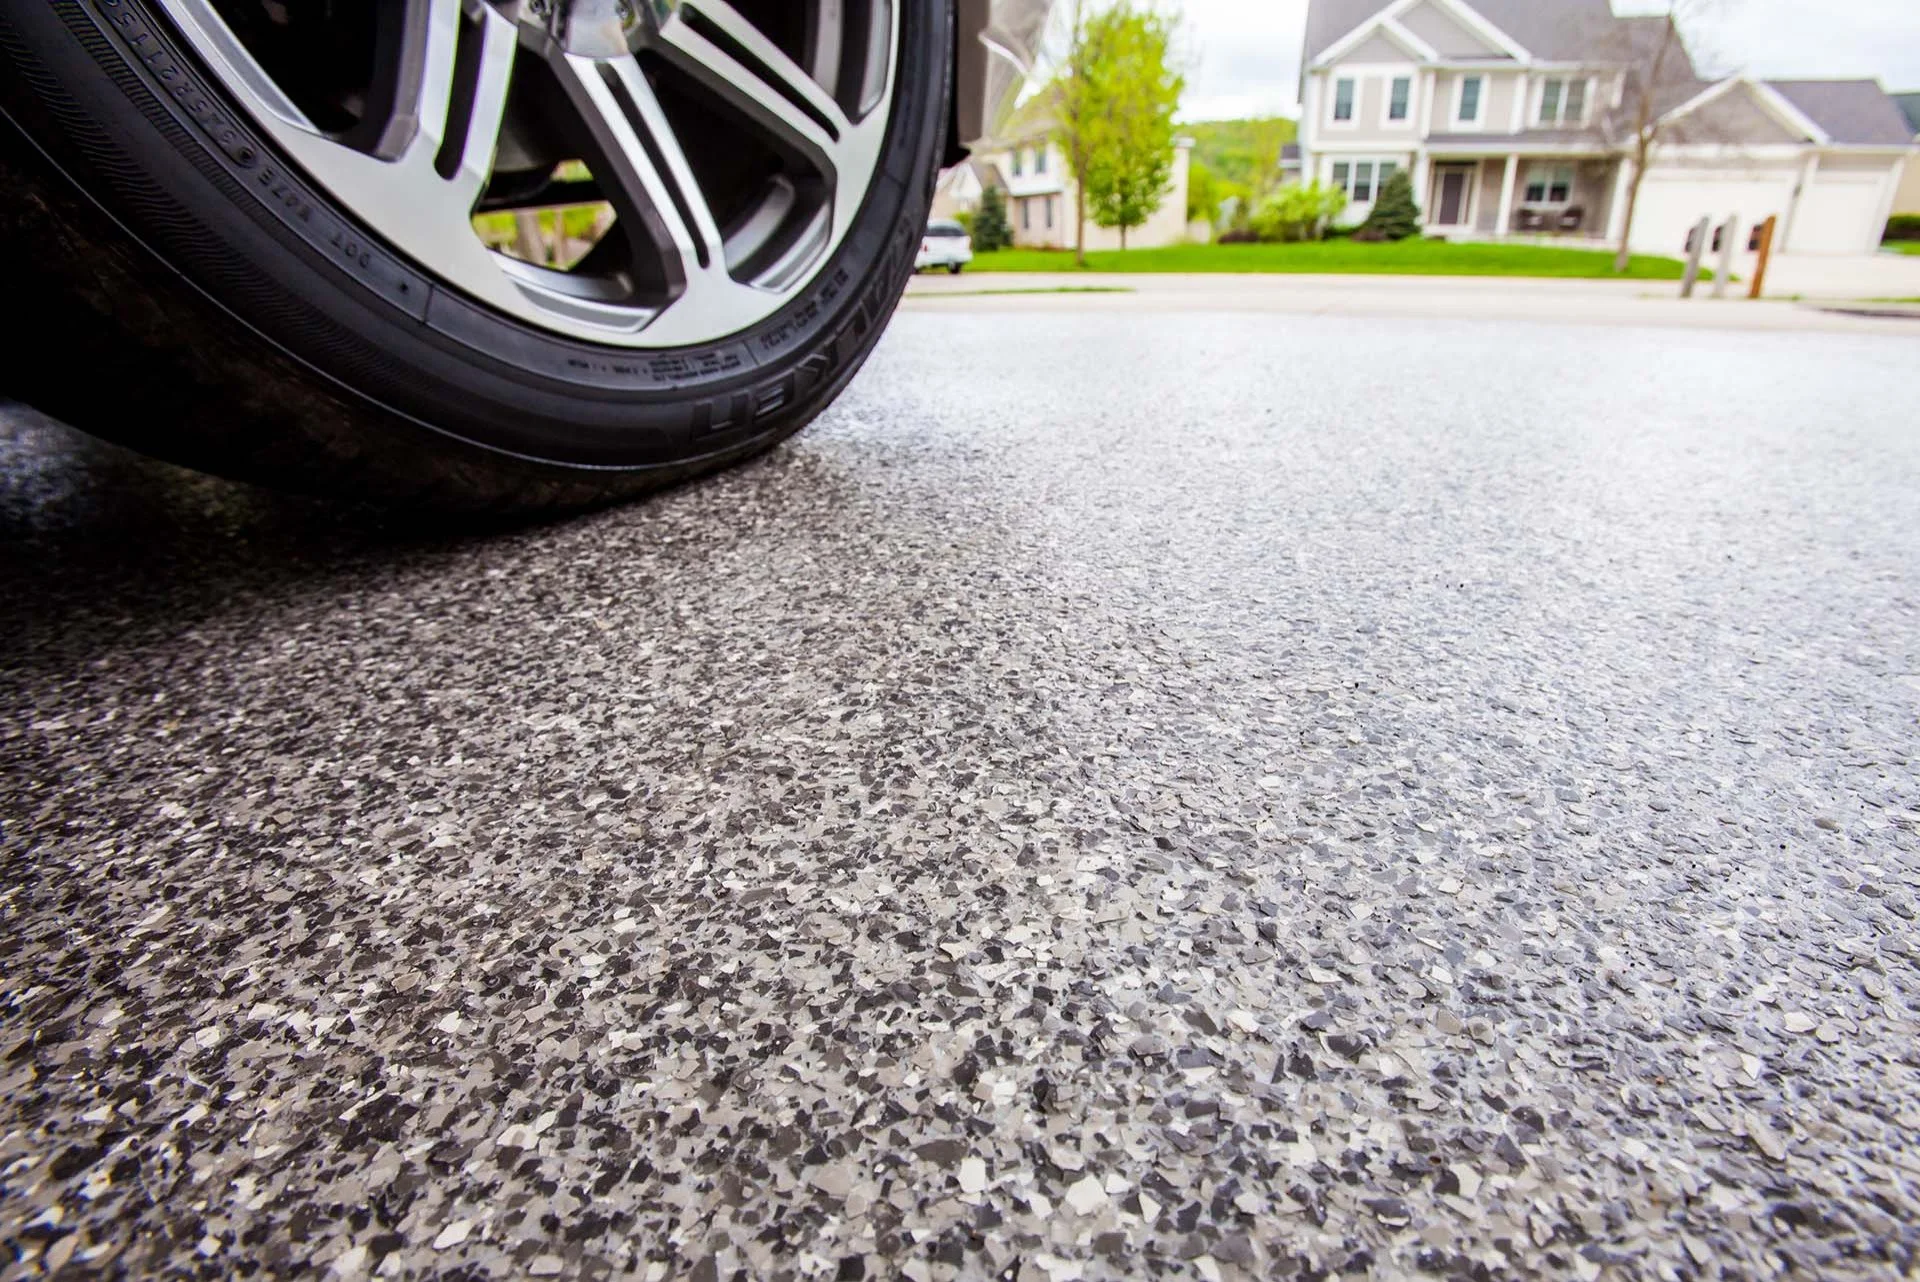
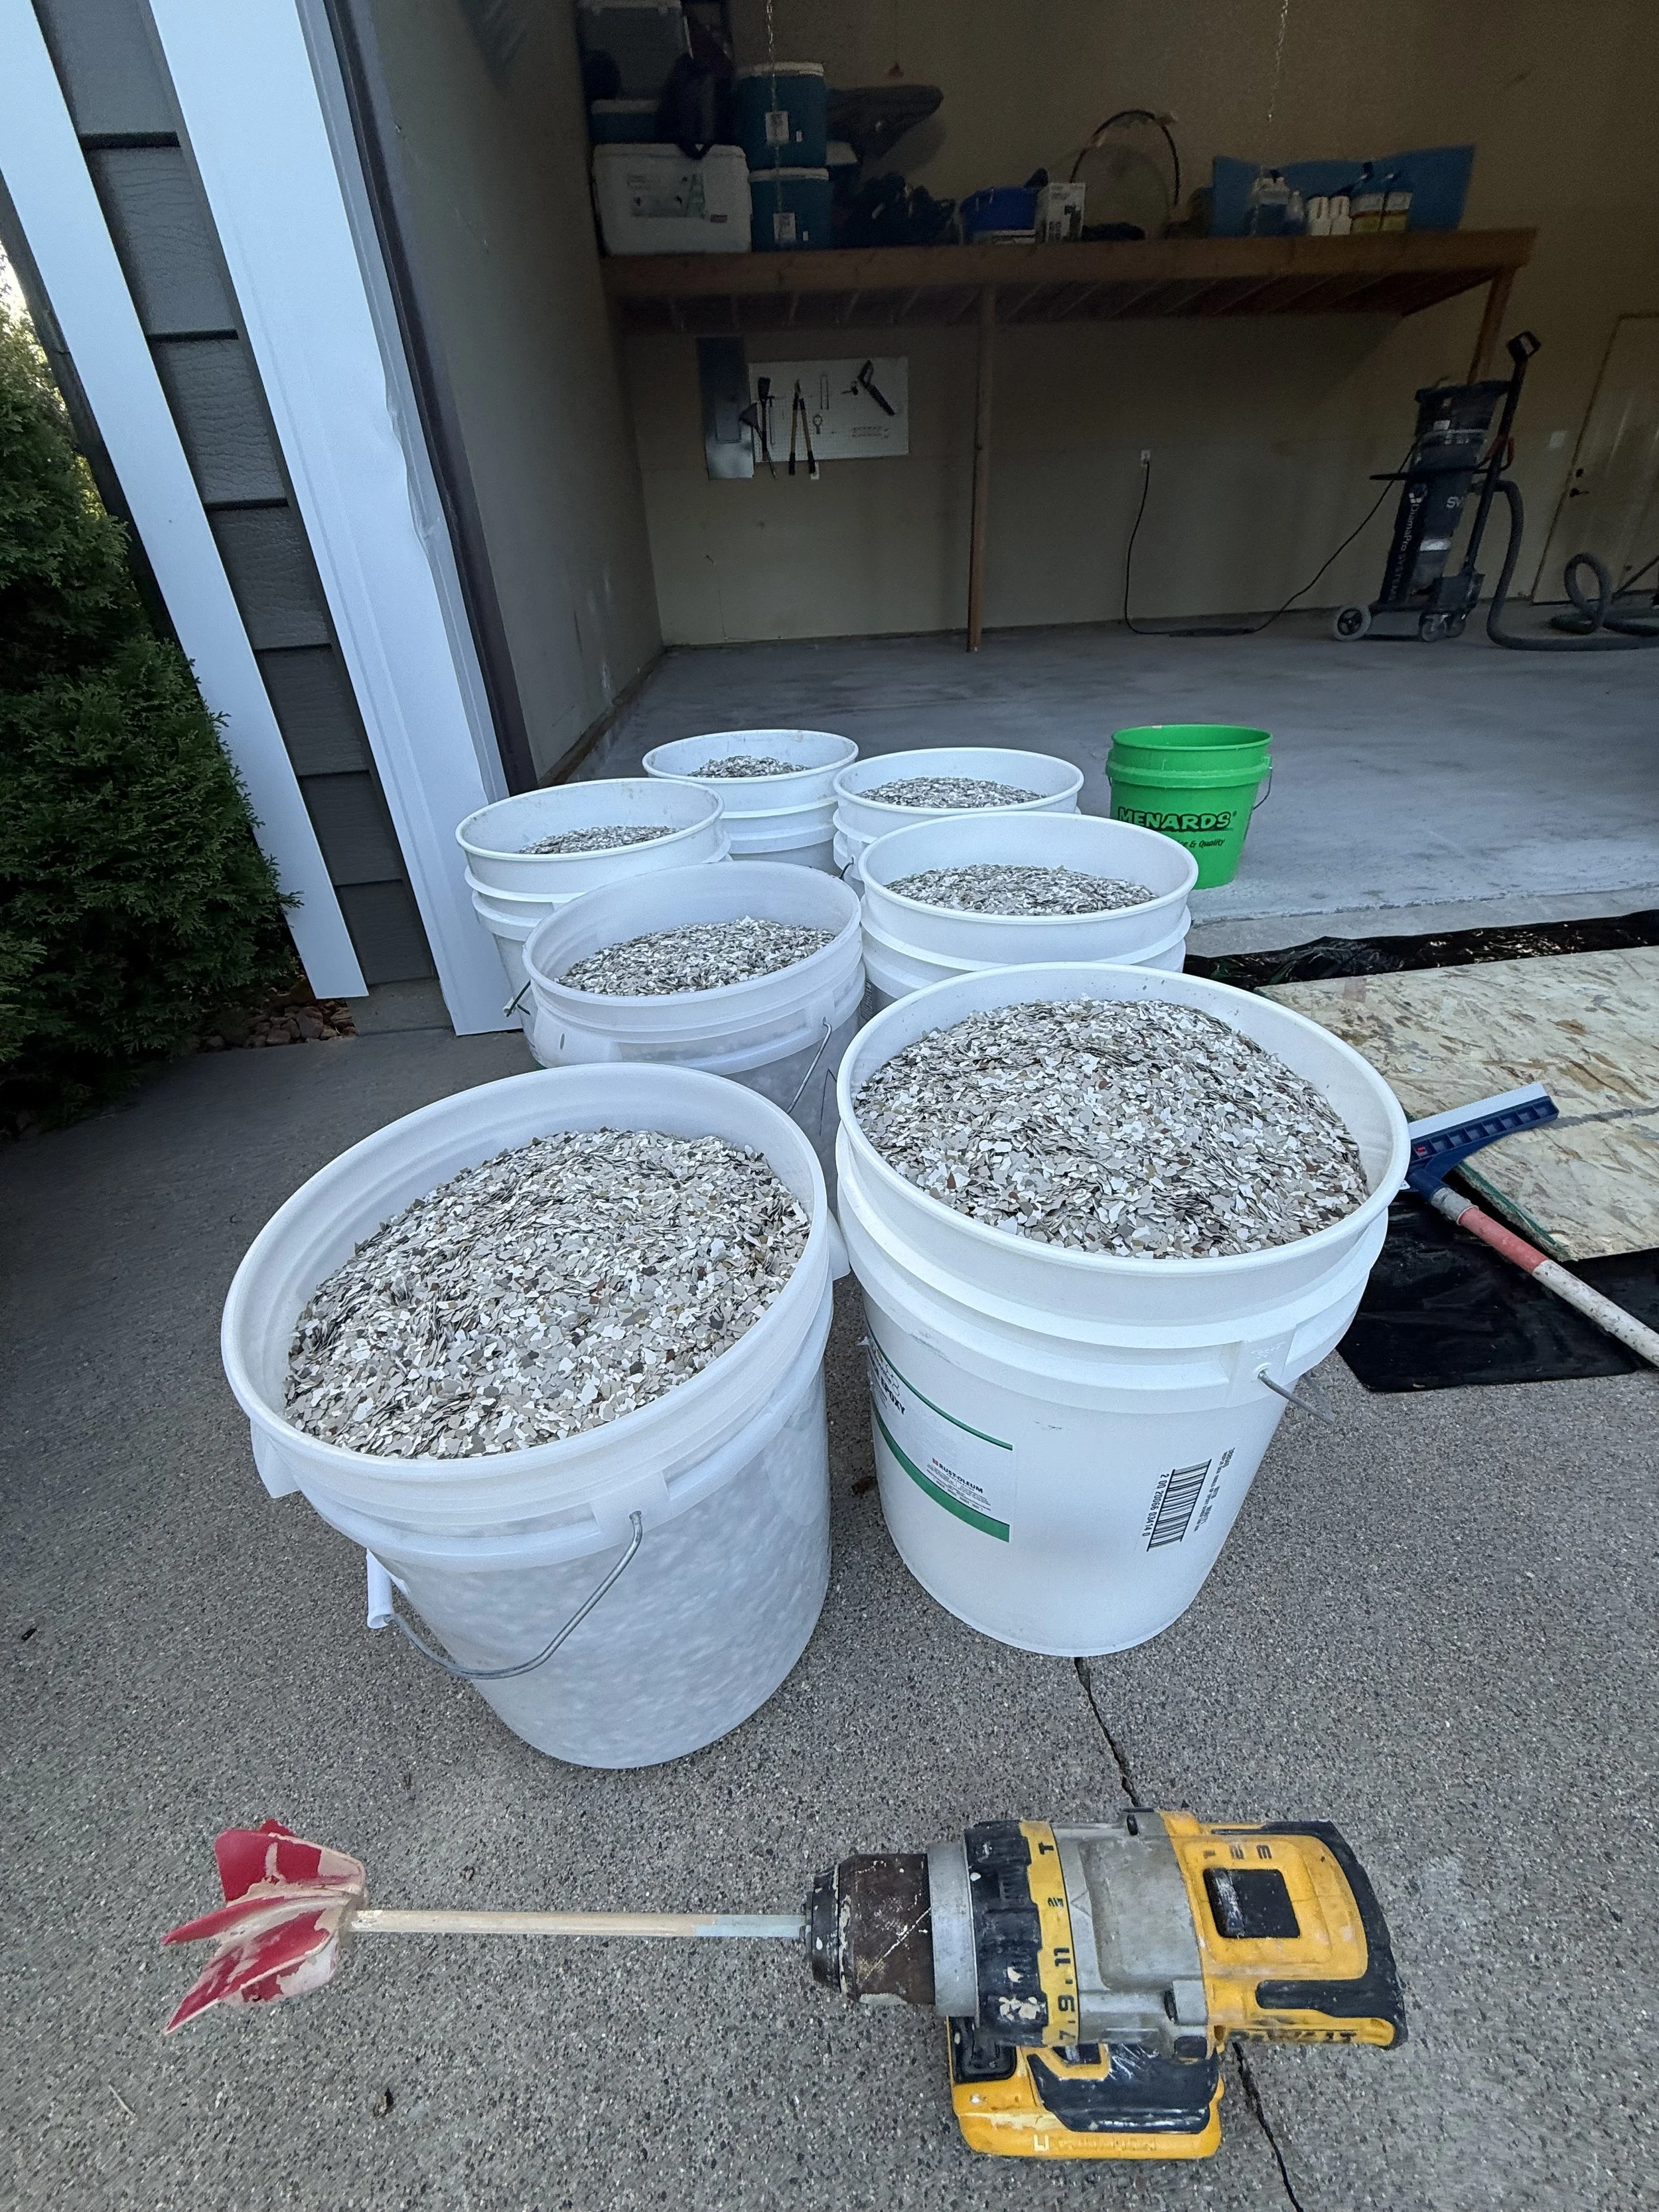
Step 4: Decorative Flake Broadcast
Next, we broadcast 100% coverage of decorative flakes (check out Creekbed, our most popular blend!) across the basecoat.
This step:
• Adds texture and traction
• Gives your floor a beautiful, uniform finish
• Hides minor imperfections in the concrete
After the flakes are applied, we scrape off the excess and prepare for the final topcoat.
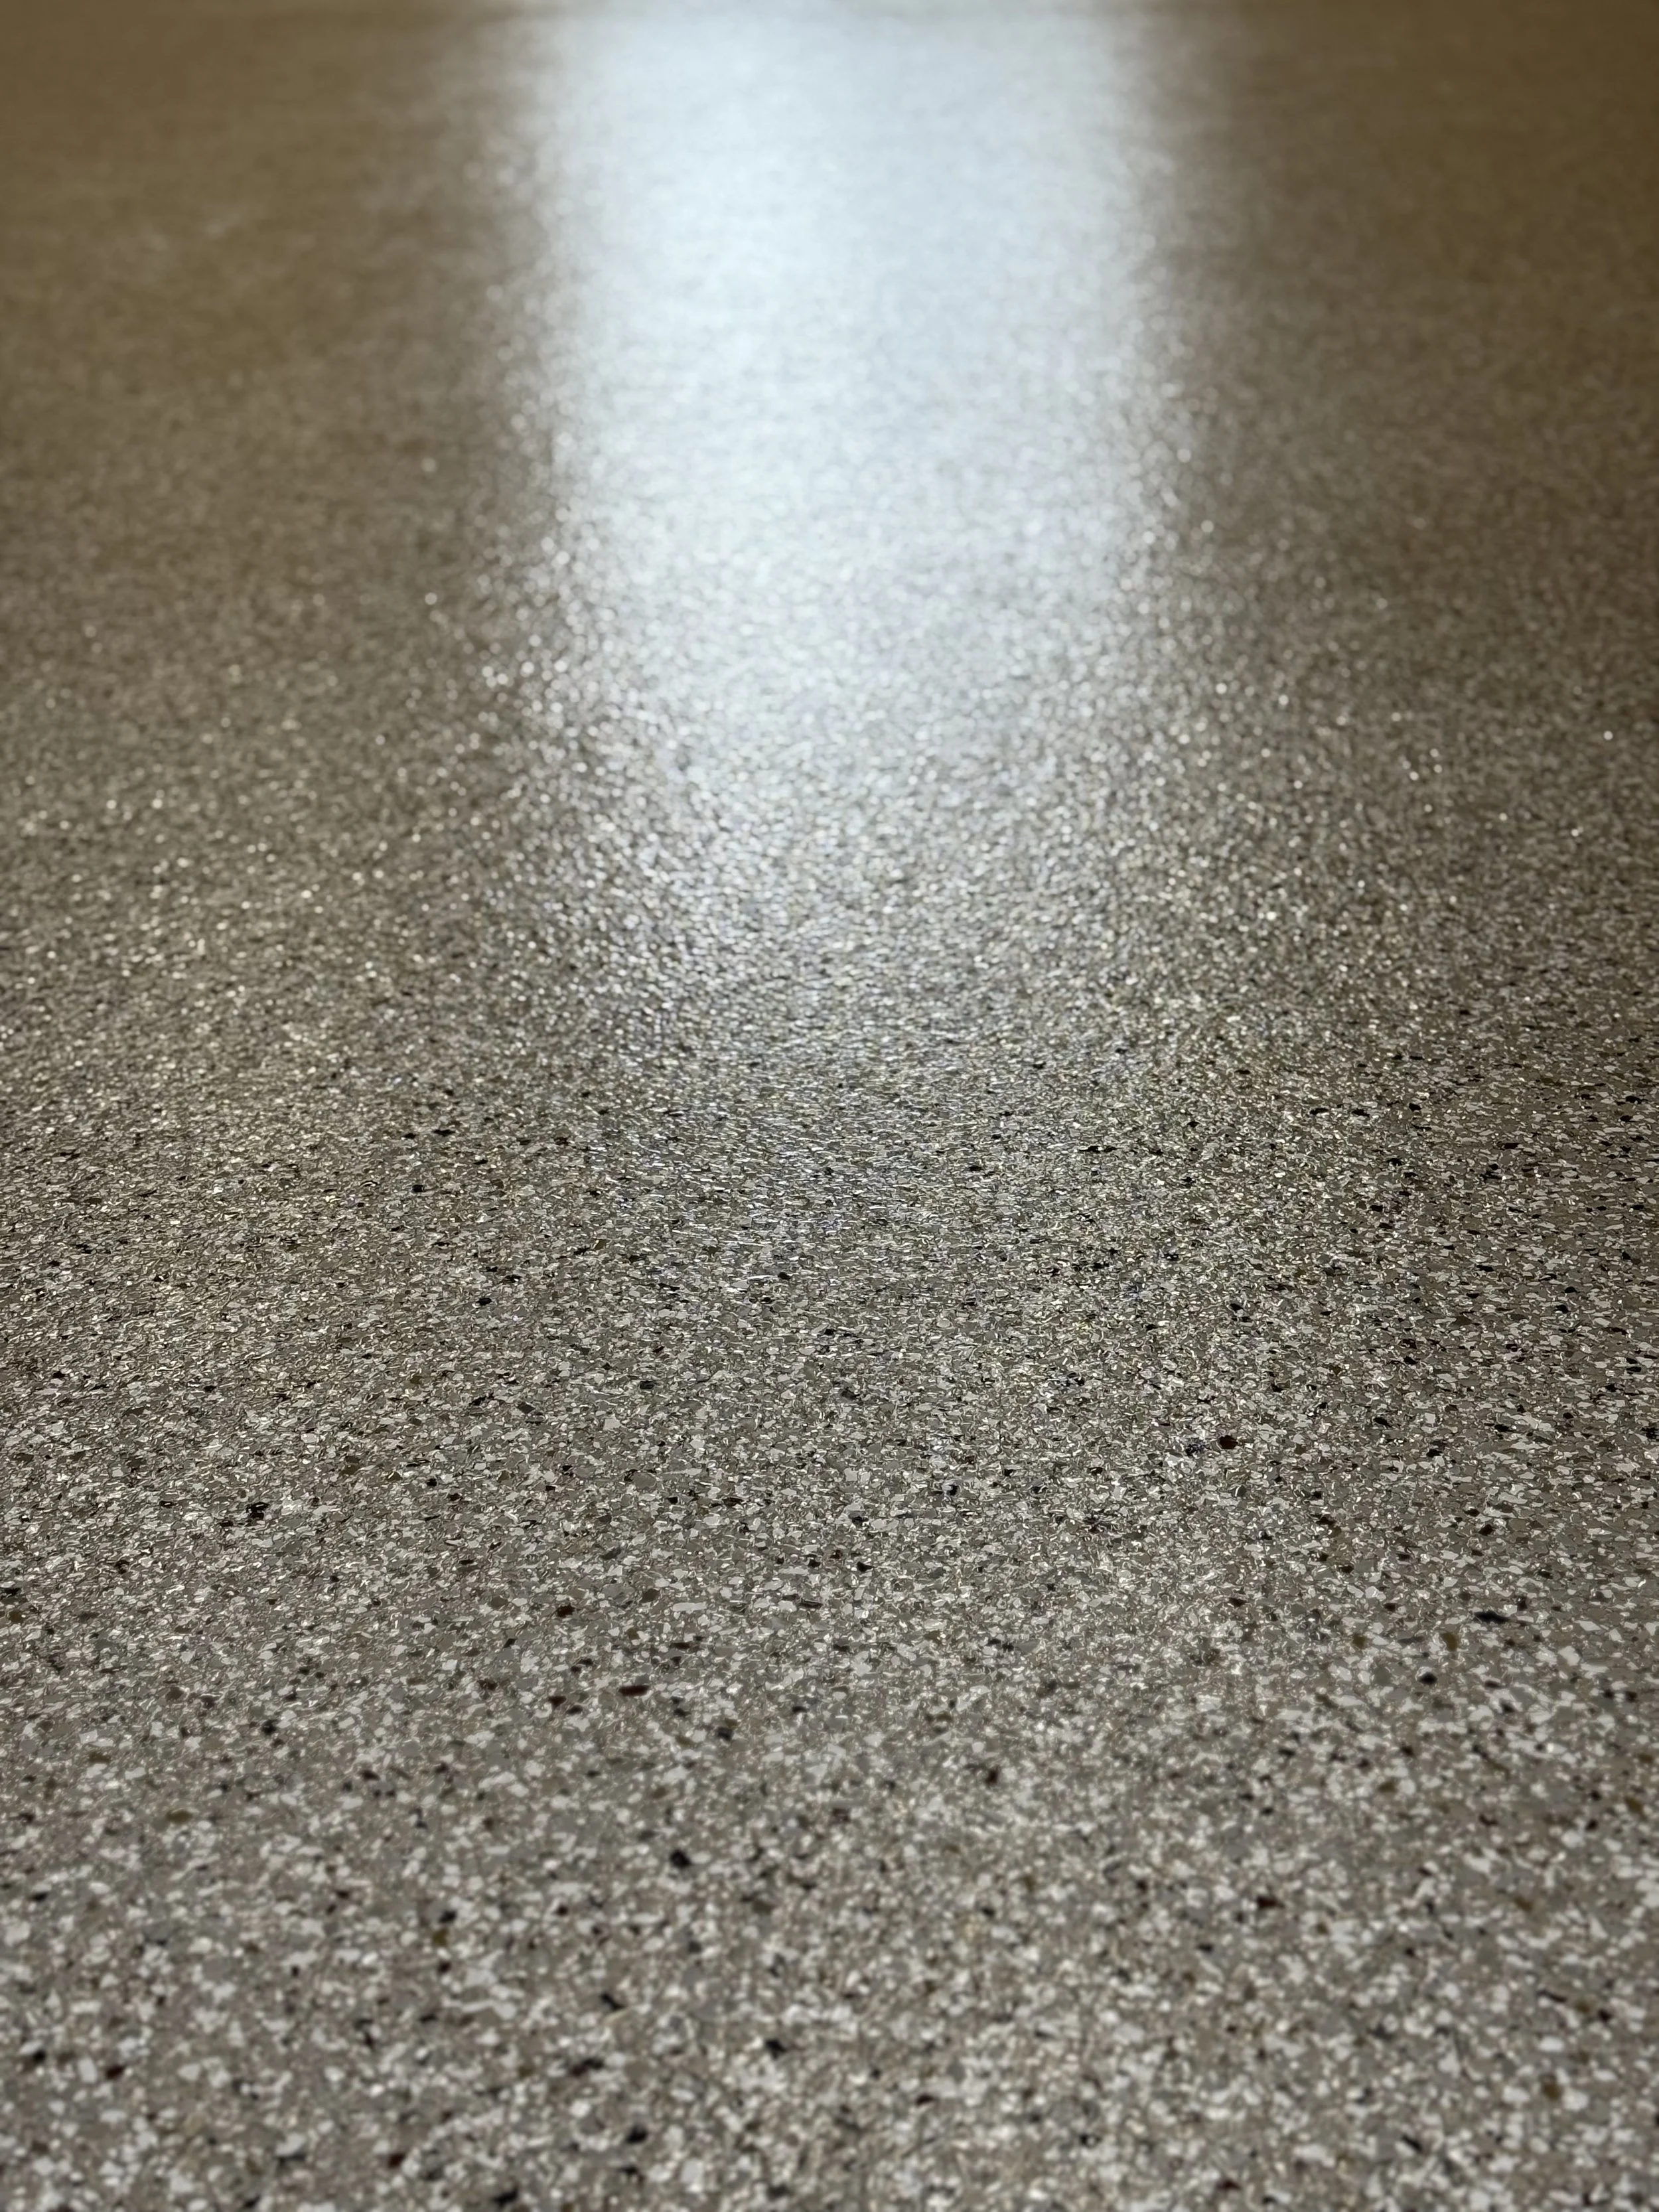
Step 5: Polyaspartic Topcoat
The final step is a clear, high-performance polyaspartic topcoat.
This layer:
• Seals in the decorative flakes
• Protects against chemicals, UV, and wear
• Provides a glossy, easy-to-clean finish
• Ensures your floor is ready for heavy use in just 2–3 days
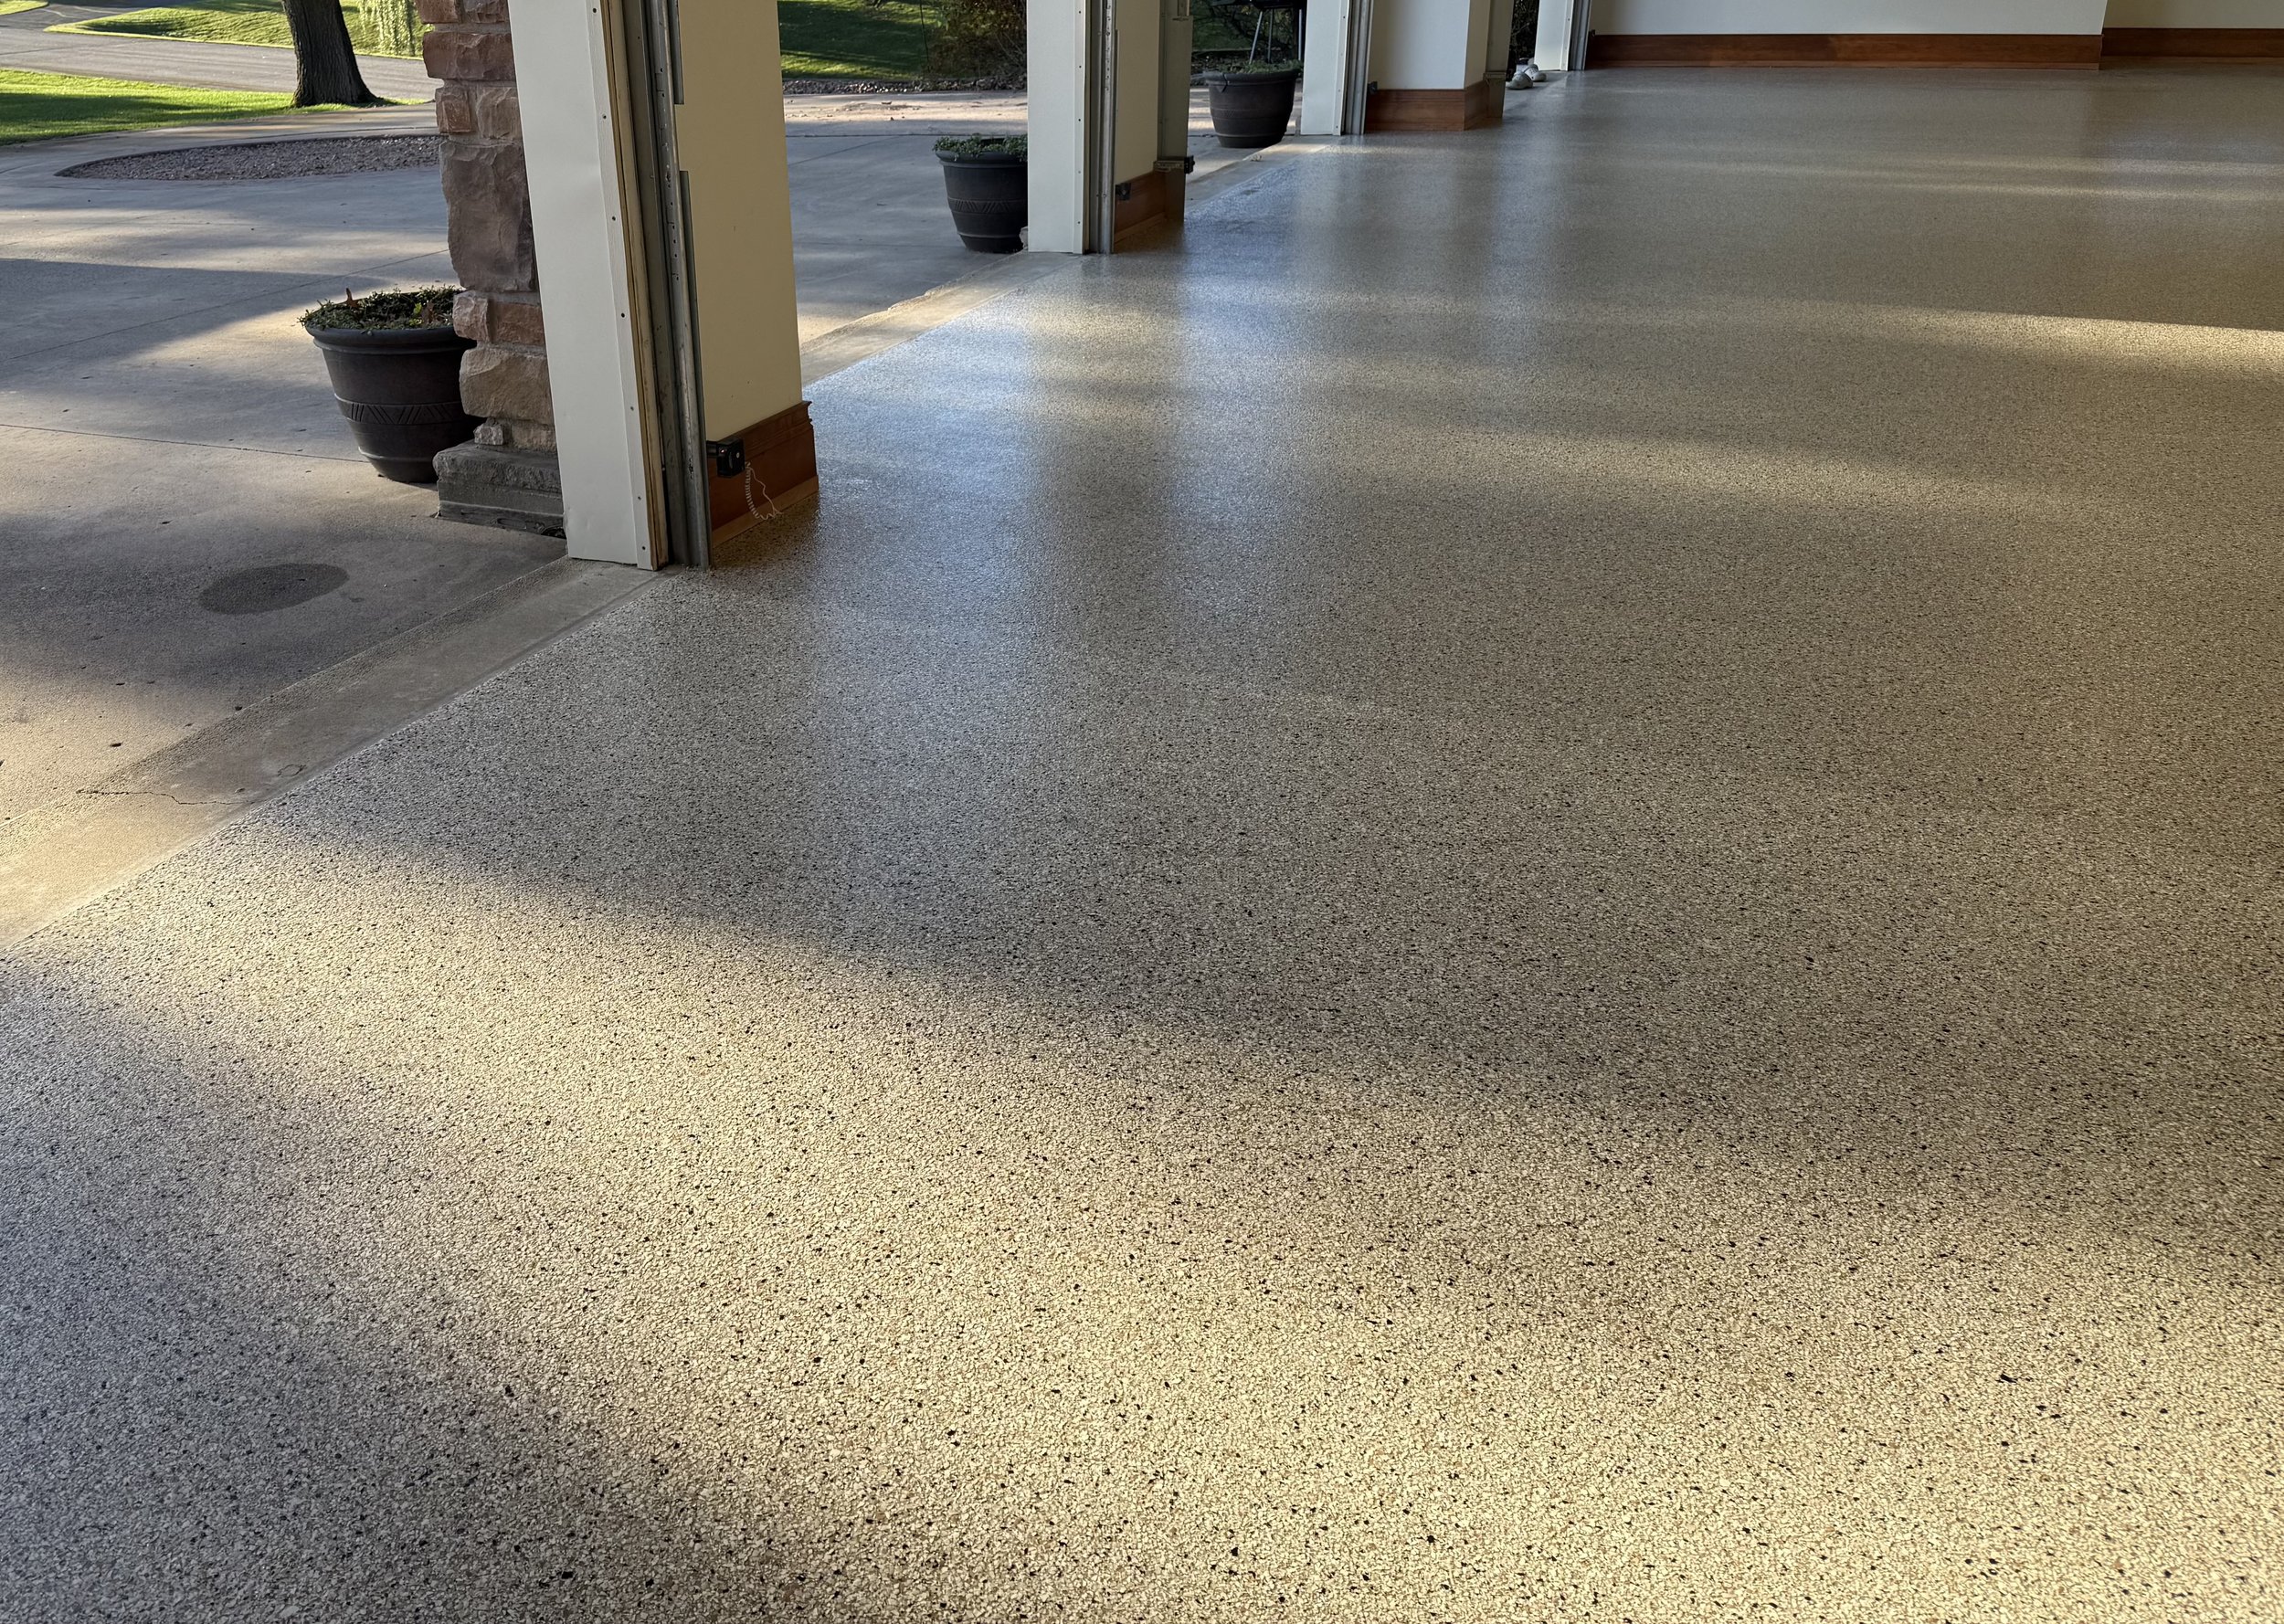
Step 6: Final Inspection & Customer Walkthrough
Before we consider the job complete, we:
• Conduct a thorough inspection to ensure every detail meets our standards
• Walk/talk you through your new floor, explaining proper maintenance
• Answer any other questions
• We don’t just finish a floor—we deliver a resinous floor system built to last.
Why Our Process Works
• Every step is performed by trained professionals with years of experience
• We tailor our approach to each customer and surface type
• Our process combines materials, preparation, and application techniques to maximize durability and aesthetics
• Whether it’s epoxy, polyaspartic, or a hybrid system, the results speak for themselves